In this section, we’ll be going over how to use Elementor, which is our chosen pagebuilder/editor. This is our gateway to creating pages and editing the content on them. Most of your time will be spent here, so be sure to get a good understanding of how it works!
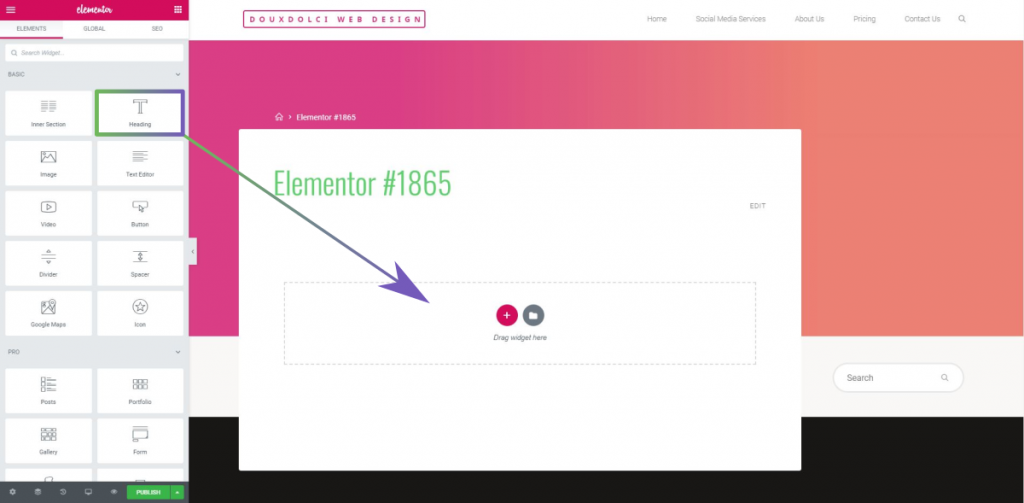
When you first load up Elementor, you’ll be greeted with a blank page and a sidebar full of different elements. These elements range from basic text and images, to advanced video feeds and Google maps functionality. Elementor is a drag and drop editor, meaning we can drag our elements. also known as “widgets,” directly onto the page.
Once you have your heading in place, you’ll see an editing window come up in your sidebar. This is where you can set the element’s text- though this can also be done by clicking inside the element itself.
At the top of your sidebar, you’ll notice that there are three tabs listed: Content, Style, and Advanced. These all have to do with editing different aspects of your current element. From the Styles tab, we can change the text color, typography (font choice, text sizing, and more), and add a shadow to our text. These options will be different depending on the element you’re editing.
Going to the Advanced tab will give you more options for your element, such as an entrance animation, border, and background. Bear in mind that the border and background options can sometimes be found in the Styles tab instead. This depends on the element itself, and may require you to check both tabs to find them.
Many pagebuilders will use an encapsulation system to make editing easier. What do I mean by that? Well, every element you place will be contained inside of a column, which in turn will be inside of a section, or row. Sections are horizontal areas that contain any number of vertical columns; these columns can all be different sizes. When you created that heading element, it also created a section with a single column. This whole paragraph is an example of a single-column section. If I were to add a second column, it would look
I’m using two headings for this example, both of which are left justified. You can add more columns to a section by right-clicking on the top left  icon. You can also use an element called an Inner section to turn one column into multiple.