What We'll Learn
- Adding new images
- Image settings
- Getting the size just right
Adding new images
To add a new image, look for your editing pane on the left of the screen, then find the ‘Image’ element. You can click and drag to add this element to your page. If you can’t find it, make sure you’re in the element window.
Image Settings
Once you’ve added your image, you’ll notice a few different settings:
- Image size: Adjusts the resolution of the image. Trying using the lowest resolution you can get away with- it will keep the file size small.
- Alignment: Aligns the image either left, center, or right.
- Caption: Adds a caption beneath your image. To insert a line break, type “<br>”.
- Link: Determines what happens when the image is clicked. This can be a lightbox (image opoup) or a custom link.


Image Styling
Styling your image can help to give it more pop.
- Width: Use this to set the width of your image. This is the best way to size your image properly. By default this is in pixels. You can also use percent (i.e. 50% width) or VW if you’re more advanced.
- Max Width: Sets the Max Width. This is a bit harder to work with than Width, though you can get similar results.
- Height: Sets the image height. Just as with Max Width, using the normal Width slider is the preferred way of sizing your image.
- Normal and Hover effects: This can be a great way to make your images pop and animate them a little. “Normal” refers to an image’s default state, while “Hover” is when someone puts their mouse or finger over the image. These effects don’t work too well on mobile devices.
- Opacity: Sets how transparent your image is.
- CSS Filters: A fun little toolbox of different filters to put on your images.
- Transition Duration: Changes the amount of time a hover effect will play for. Applies to opacity and CSS filters.
- Hover Animation: Plays a pre-made animation when someone hovers over your image.

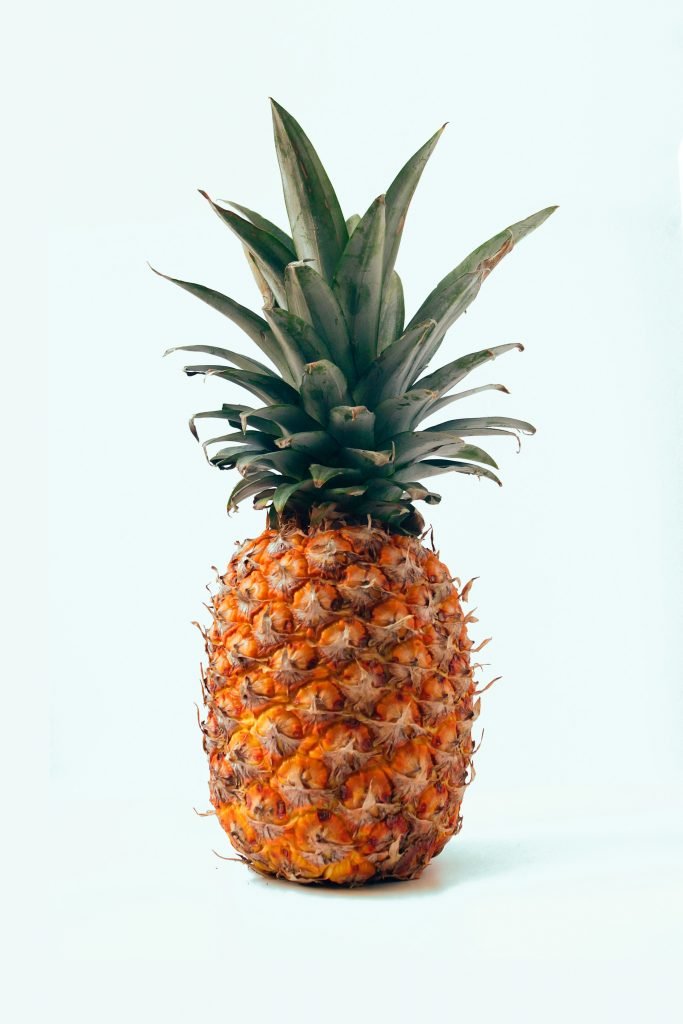
Hover: Opacity=1.0
Transition Duration=0.5

Border Width=5
Border Radius=3

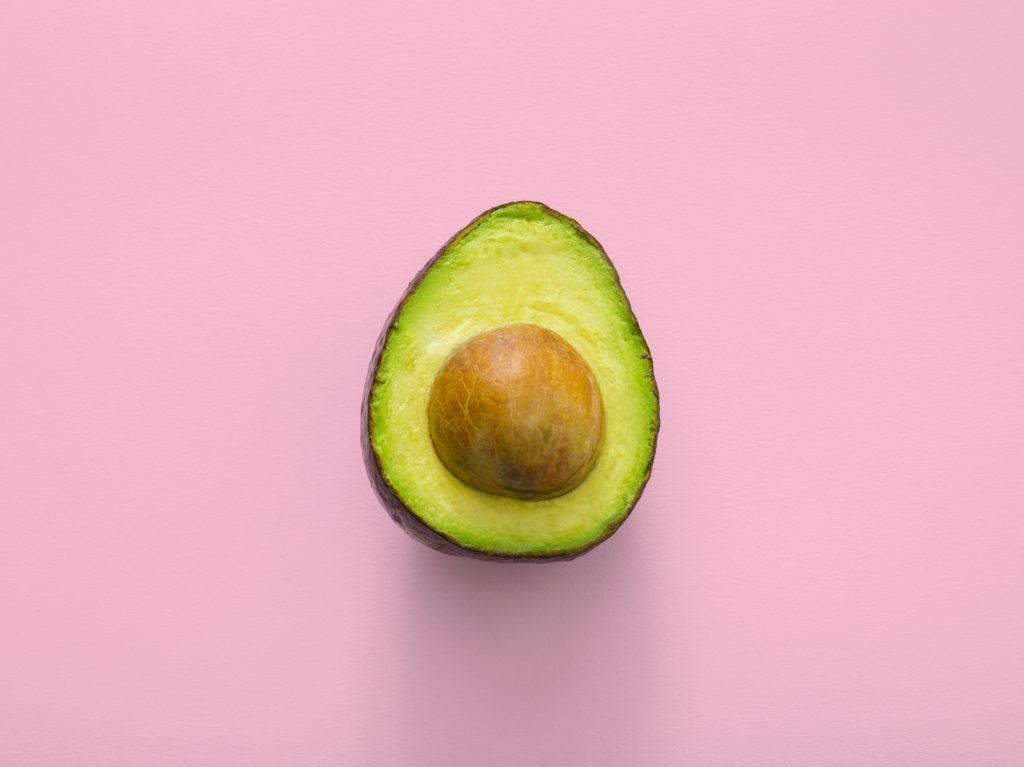
Hover: CSS Filters >> Blur=0
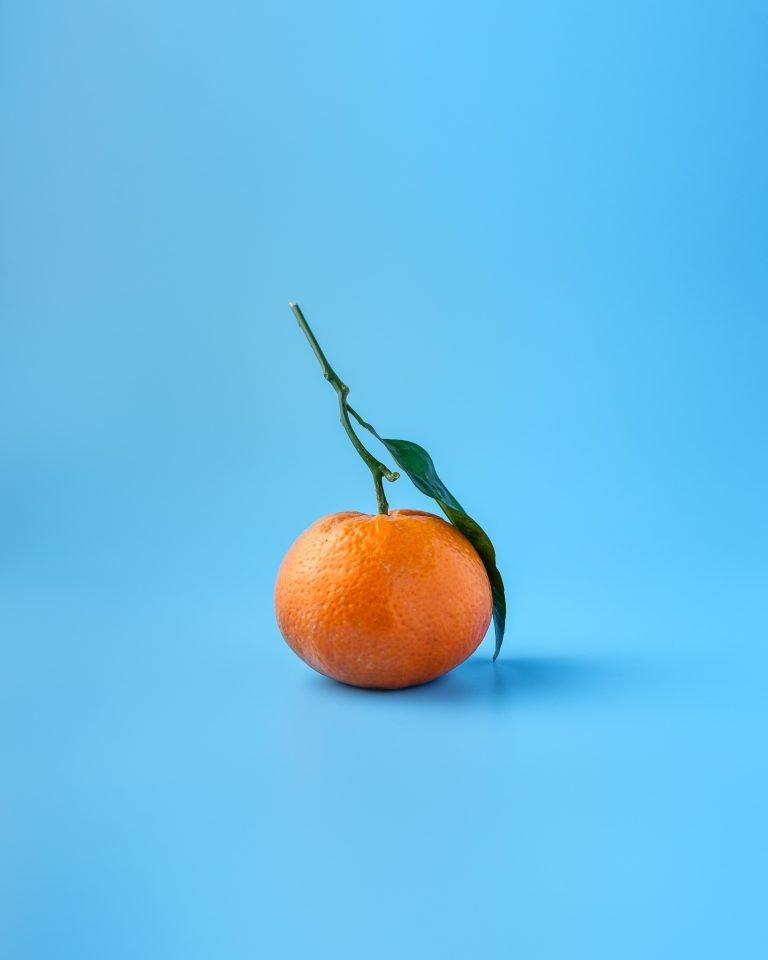
Transition Duration=0.3
Border Radius=25

